The Unstoppable Legacy of KISS: A Fan’s Perspective As a…

something a fan of the band kiss would write from the fan's perspective

The Unstoppable Legacy of KISS: A Fan’s Perspective

As a lifelong fan of the iconic rock band KISS, I have often found myself pondering the magic that surrounds this legendary group. From their elaborate stage performances to their unforgettable anthems, KISS is more than just a band; they are a cultural phenomenon that has transcended generations. Buckle up, fellow KISS Army members, as we embark on a journey through the glittering world of KISS, through the eyes of a devoted fan!

The Birth of a Rock ‘n’ Roll Legend

It all began in 1973 when four enigmatic figures burst onto the music scene, armed with face paint, wild costumes, and an unquenchable thirst for rock ‘n’ roll glory. Paul Stanley, Gene Simmons, Ace Frehley, and Peter Criss quickly captured the hearts of fans with their electrifying performances and catchy tunes. As a fan, I often marvel at how KISS managed to create a sound that was both timeless and innovative. Songs like “Rock and Roll All Nite” and “Detroit Rock City” became anthems for a generation, and they still resonate with us today.

The Magic of KISS Concerts

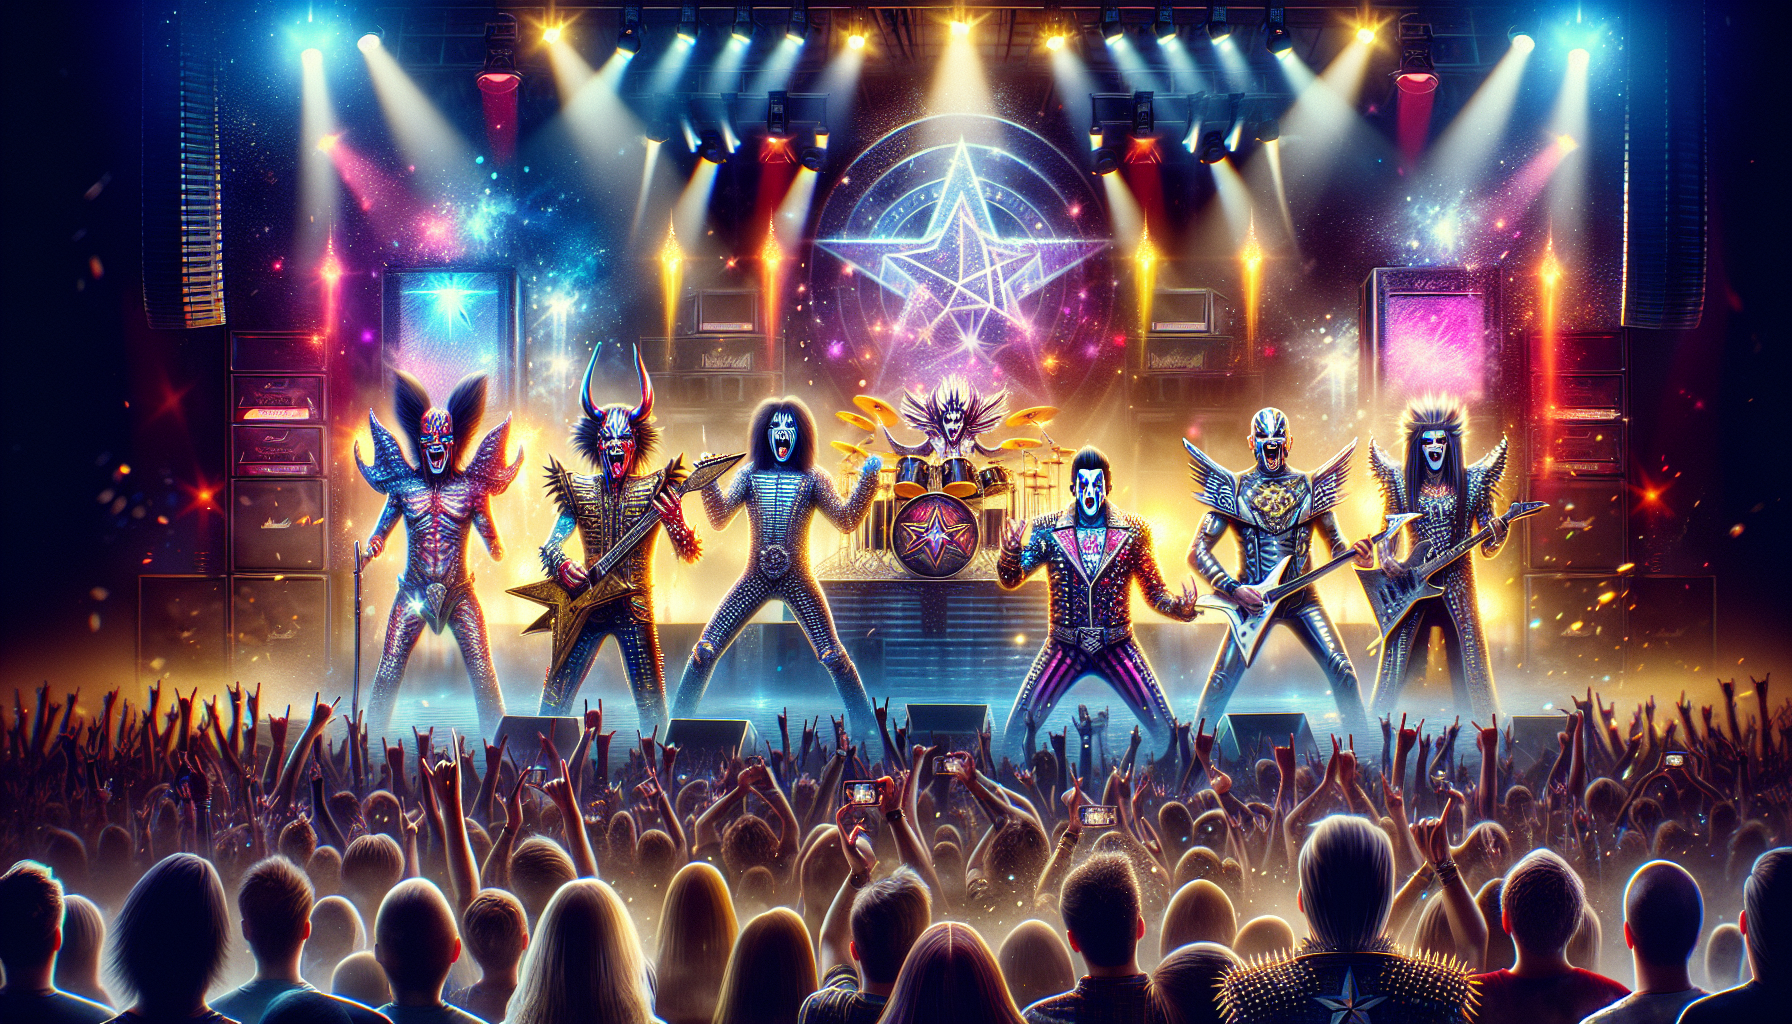
Attending a KISS concert is not just an event; it’s a full-blown experience! The moment the lights dim, and that signature guitar riff kicks in, the energy in the air is palpable. As a fan, I find myself swept away by the spectacle. The pyrotechnics, the smoke, and the larger-than-life personas of the band members create an atmosphere that is nothing short of electric. And let’s not forget about the iconic costumes! Each member brings their character to life, from the Starchild to the Demon, and it’s impossible not to be captivated.

A Community Like No Other

One of the most rewarding aspects of being a KISS fan is the sense of community that comes with it. The KISS Army is a tight-knit family of passionate individuals who share a love for the band and its music. Whether it’s bonding over our favorite albums, trading memorabilia, or discussing the latest KISS news, there’s always a sense of camaraderie. I’ve met some of my closest friends at KISS conventions and concerts, and it’s heartwarming to know that we’re all united by the same passion.

The Evolution of KISS

KISS has shown remarkable adaptability over the years, evolving with the changing landscape of rock music while staying true to their roots. From the glam rock era of the ’70s to the hard rock resurgence of the ’80s and beyond, KISS continues to innovate and surprise us. Their willingness to embrace new styles while maintaining their signature sound is a testament to their talent and dedication. As a fan, I appreciate how they have welcomed new generations into the KISS fold, ensuring that their legacy lives on.

The KISS Legacy: More Than Music

KISS is not just about the music; it’s a lifestyle! The band has inspired countless fans to express themselves through their fashion, art, and even makeup. The iconic KISS logo has become a symbol of rebellion and individuality, and it’s not uncommon to see fans sporting KISS-inspired attire at concerts or conventions. As a fan, I take pride in being part of a movement that encourages self-expression and creativity, all while celebrating the power of rock ‘n’ roll.

In Conclusion: A Love That Never Fades

As I reflect on my journey as a KISS fan, I am filled with gratitude for the joy and inspiration that the band has brought into my life. KISS is more than just a musical group; they are a symbol of passion, creativity, and the enduring spirit of rock ‘n’ roll. Whether you’re a lifelong member of the KISS Army or a newly initiated fan, the magic of KISS is undeniable. So, let’s keep the spirit alive, crank up the tunes, and rock on, because the legacy of KISS will never fade!

Spicy Honey Garlic Glazed Chicken Thighs Ingredients 4 bone-in, skin-on…

Main Courses

Spicy Honey Garlic Glazed Chicken Thighs

Ingredients

  • 4 bone-in, skin-on chicken thighs
  • 2 tablespoons olive oil
  • 1 teaspoon salt
  • 1/2 teaspoon black pepper
  • 1 teaspoon garlic powder
  • 1 teaspoon smoked paprika
  • 1/4 cup honey
  • 3 tablespoons soy sauce
  • 2 cloves garlic, minced
  • 1 teaspoon red pepper flakes (adjust to taste)
  • 1 tablespoon apple cider vinegar
  • Fresh cilantro, chopped (for garnish)

Instructions

  1. Preheat the Oven: Preheat your oven to 425°F (220°C).
  2. Prepare the Chicken: Pat the chicken thighs dry with paper towels. In a large bowl, mix olive oil, salt, black pepper, garlic powder, and smoked paprika. Add the chicken thighs to the bowl, ensuring they are well-coated with the spice mixture.
  3. Make the Glaze: In a separate bowl, whisk together honey, soy sauce, minced garlic, red pepper flakes, and apple cider vinegar until well combined.
  4. Combine and Coat: Place the seasoned chicken thighs in a baking dish. Pour the honey garlic glaze over the chicken, ensuring each piece is well coated.
  5. Bake: Bake in the preheated oven for 30-35 minutes or until the chicken reaches an internal temperature of 165°F (74°C) and the skin is crispy. Baste the chicken with the glaze halfway through cooking for extra flavor.
  6. Serve: Remove the chicken from the oven and let it rest for 5 minutes. Garnish with fresh cilantro before serving.

Serving Suggestions

These Spicy Honey Garlic Glazed Chicken Thighs pair beautifully with steamed rice, roasted vegetables, or a fresh green salad. Enjoy your delicious, flavorful meal!

Decadent Chocolate Avocado Mousse This creamy and rich Chocolate Avocado…

Desserts

Decadent Chocolate Avocado Mousse

This creamy and rich Chocolate Avocado Mousse is a delightful dessert that will impress your guests and satisfy your sweet tooth, all while being dairy-free and packed with healthy fats. Perfect for any occasion, this mousse is both indulgent and nutritious! Let’s dive into this delicious recipe.

Ingredients

  • 2 ripe avocados
  • 1/2 cup unsweetened cocoa powder
  • 1/4 cup maple syrup (or honey for non-vegan option)
  • 1/4 cup almond milk (or any plant-based milk)
  • 1 teaspoon vanilla extract
  • 1/4 teaspoon sea salt
  • 1/4 cup dark chocolate chips (dairy-free if vegan), melted
  • Fresh berries and mint leaves for garnish

Instructions

  1. Prepare the Avocados: Cut the avocados in half, remove the pits, and scoop the flesh into a food processor.
  2. Add Cocoa and Sweetness: Add the unsweetened cocoa powder, maple syrup, almond milk, vanilla extract, and sea salt to the food processor.
  3. Melt the Chocolate: In a microwave or double boiler, melt the dark chocolate chips. Allow to cool slightly before adding to the processor.
  4. Blend Until Smooth: Process all the ingredients together until the mixture is completely smooth and creamy. Scrape down the sides as needed to ensure everything is well combined.
  5. Taste and Adjust: Taste the mousse and adjust sweetness if necessary by adding more maple syrup. Blend again if you add anything.
  6. Chill the Mousse: Transfer the mousse into individual serving dishes or a large bowl. Cover with plastic wrap and refrigerate for at least 30 minutes to set.
  7. Serve: Once chilled, serve the mousse topped with fresh berries and mint leaves for an extra touch of freshness and color.

Enjoy!

This Decadent Chocolate Avocado Mousse is not only delicious but also guilt-free. Indulge in this rich dessert knowing it’s made with wholesome ingredients. Perfect for dinner parties or a cozy night in!

Herb-Crusted Lemon Garlic Chicken with Roasted Vegetables Ingredients For the…

Main Courses

Herb-Crusted Lemon Garlic Chicken with Roasted Vegetables

Ingredients

For the Herb-Crusted Chicken:

  • 4 boneless, skinless chicken breasts
  • 1 cup breadcrumbs (preferably whole wheat)
  • 1/2 cup grated Parmesan cheese
  • 2 tablespoons fresh parsley, chopped
  • 1 tablespoon fresh thyme, chopped
  • 1 tablespoon fresh rosemary, chopped
  • 3 cloves garlic, minced
  • 1 lemon, zested and juiced
  • 1/4 cup olive oil
  • Salt and pepper, to taste

For the Roasted Vegetables:

  • 2 cups broccoli florets
  • 1 red bell pepper, chopped
  • 1 zucchini, sliced
  • 1 cup cherry tomatoes, halved
  • 2 tablespoons olive oil
  • 1 teaspoon dried Italian herbs
  • Salt and pepper, to taste

Instructions

Step 1: Prepare the Chicken

  1. Preheat your oven to 400°F (200°C).
  2. In a large bowl, mix together the breadcrumbs, Parmesan cheese, parsley, thyme, rosemary, minced garlic, lemon zest, salt, and pepper.
  3. In another bowl, whisk together the lemon juice and olive oil.
  4. Dip each chicken breast into the lemon-olive oil mixture, then coat it in the herb-breadcrumb mixture, pressing gently to adhere.

Step 2: Roast the Vegetables

  1. On a baking sheet, combine the broccoli, red bell pepper, zucchini, and cherry tomatoes.
  2. Drizzle the vegetables with olive oil, sprinkle with dried Italian herbs, salt, and pepper, and toss to coat evenly.

Step 3: Bake Everything

  1. Place the coated chicken breasts on a separate baking sheet lined with parchment paper.
  2. Add both the chicken and the vegetables to the preheated oven.
  3. Bake the chicken for 25-30 minutes, or until the internal temperature reaches 165°F (75°C) and the crust is golden brown.
  4. Roast the vegetables for about 20-25 minutes, stirring halfway through, until they are tender and slightly caramelized.

Step 4: Serve

  1. Once cooked, remove the chicken and vegetables from the oven.
  2. Let the chicken rest for 5 minutes before slicing.
  3. Serve the herb-crusted chicken alongside the roasted vegetables, and enjoy a vibrant, flavorful meal!

Enjoy Your Meal!

This Herb-Crusted Lemon Garlic Chicken with Roasted Vegetables is not only visually stunning but also packed with flavor and nutrients. Perfect for dinner parties or a family meal, it’s sure to impress! Don’t forget to share your delicious results!

Herb-Crusted Lemon Garlic Chicken with Roasted Vegetables Ingredients For the…

Main Courses

Herb-Crusted Lemon Garlic Chicken with Roasted Vegetables

Ingredients

For the Chicken:

  • 4 bone-in, skin-on chicken thighs
  • 3 tablespoons olive oil
  • 2 tablespoons fresh lemon juice
  • 4 cloves garlic, minced
  • 1 teaspoon dried thyme
  • 1 teaspoon dried oregano
  • 1 teaspoon salt
  • 1/2 teaspoon black pepper
  • 1 tablespoon fresh parsley, chopped (for garnish)

For the Roasted Vegetables:

  • 2 cups baby potatoes, halved
  • 1 cup carrots, cut into sticks
  • 1 cup bell peppers, sliced (any color)
  • 1 red onion, cut into wedges
  • 2 tablespoons olive oil
  • 1 teaspoon dried rosemary
  • 1 teaspoon garlic powder
  • Salt and pepper, to taste

Instructions

  1. Preheat the Oven: Preheat your oven to 425°F (220°C).
  2. Prepare the Chicken Marinade: In a small bowl, combine olive oil, lemon juice, minced garlic, dried thyme, dried oregano, salt, and black pepper. Mix well.
  3. Marinate the Chicken: Place the chicken thighs in a large resealable bag or a shallow dish. Pour the marinade over the chicken, ensuring each piece is well coated. Let it marinate for at least 30 minutes (or up to 2 hours in the fridge for more flavor).
  4. Prepare the Vegetables: In a large bowl, toss the halved baby potatoes, carrot sticks, bell peppers, and red onion with olive oil, dried rosemary, garlic powder, salt, and pepper until evenly coated.
  5. Arrange on a Baking Sheet: Spread the marinated chicken thighs on one side of a large baking sheet. On the other side, arrange the prepared vegetables in a single layer.
  6. Bake: Place the baking sheet in the preheated oven and bake for 35-40 minutes, or until the chicken reaches an internal temperature of 165°F (75°C) and the vegetables are tender and caramelized.
  7. Garnish and Serve: Once cooked, remove the baking sheet from the oven. Let the chicken rest for a few minutes, then sprinkle with fresh parsley. Serve hot with the roasted vegetables.

Enjoy Your Meal!

This Herb-Crusted Lemon Garlic Chicken with Roasted Vegetables is a delightful main course that combines juicy chicken with vibrant, flavorful vegetables, making it perfect for family dinners or special occasions!

### Savory Herb-Crusted Chicken with Garlic Mashed Potatoes **Description:** This…

Main Courses
### Savory Herb-Crusted Chicken with Garlic Mashed Potatoes

**Description:** This delightful main course features succulent chicken breasts coated in a flavorful herb crust, served alongside creamy garlic mashed potatoes. Perfect for a family dinner or a special occasion, this dish is sure to impress!

#### Ingredients:

**For the Herb-Crusted Chicken:**
– 4 boneless, skinless chicken breasts
– 1 cup breadcrumbs (preferably whole wheat)
– 1/2 cup grated Parmesan cheese
– 2 tablespoons fresh parsley, chopped
– 1 tablespoon fresh thyme, chopped
– 1 tablespoon fresh rosemary, chopped
– 1 teaspoon garlic powder
– 1 teaspoon onion powder
– Salt and pepper to taste
– 2 large eggs
– 1/4 cup all-purpose flour
– 2 tablespoons olive oil

**For the Garlic Mashed Potatoes:**
– 2 pounds russet potatoes, peeled and cubed
– 4 cloves garlic, minced
– 1/2 cup heavy cream
– 1/4 cup unsalted butter
– Salt and pepper to taste
– Fresh chives, chopped (for garnish)

#### Instructions:

**Step 1: Prepare the Potatoes**
1. In a large pot, add the cubed potatoes and cover with cold water. Add a pinch of salt.
2. Bring to a boil over medium-high heat. Once boiling, reduce to a simmer and cook for about 15-20 minutes, or until the potatoes are tender when pierced with a fork.
3. In the last 5 minutes of cooking, add the minced garlic to the pot to soften it.
4. Drain the potatoes and garlic, then return them to the pot.

**Step 2: Make the Garlic Mashed Potatoes**
1. Add the heavy cream and butter to the drained potatoes. Using a potato masher or hand mixer, mash until smooth and creamy.
2. Season with salt and pepper to taste. Adjust the consistency with more cream if needed.
3. Keep warm while you prepare the chicken.

**Step 3: Prepare the Chicken**
1. Preheat your oven to 400°F (200°C).
2. In a shallow dish, combine the breadcrumbs, Parmesan cheese, parsley, thyme, rosemary, garlic powder, onion powder, salt, and pepper.
3. In another shallow dish, whisk the eggs. Place the flour in a third dish.
4. Dredge each chicken breast in flour, shaking off the excess. Dip it into the beaten eggs, then coat it in the breadcrumb mixture, pressing lightly to adhere.
5. In a large oven-safe skillet, heat the olive oil over medium-high heat. Once hot, add the coated chicken breasts.
6. Sear the chicken for about 3-4 minutes on each side, until golden brown.

**Step 4: Bake the Chicken**
1. Transfer the skillet to the preheated oven and bake for 20-25 minutes, or until the chicken is cooked through and has an internal temperature of 165°F (74°C).
2. Remove from the oven and let it rest for a few minutes before slicing.

**Step 5: Serve**
1. Plate the garlic mashed potatoes and top with the herb-crusted chicken.
2. Garnish with chopped chives for a fresh touch.
3. Enjoy your delicious, homemade herb-crusted chicken with creamy garlic mashed potatoes!

### Cooking Tips:
– For added flavor, marinate the chicken in olive oil, lemon juice, and herbs for an hour before coating.
– Feel free to customize the herb mixture based on your preference or what you have on hand.
– Pair this dish with steamed vegetables or a fresh salad for a complete meal.

This dish is not only easy to prepare but also brings a burst of flavor to your dining table. Enjoy!

**Savory Stuffed Mini Peppers with Cream Cheese and Herbs** These…

Appetizers
**Savory Stuffed Mini Peppers with Cream Cheese and Herbs**

These delightful stuffed mini peppers make a perfect appetizer for any occasion! They are colorful, flavorful, and incredibly easy to prepare. The creamy filling infused with fresh herbs complements the sweet crunch of the peppers, making them an irresistible bite-sized treat.

**Ingredients:**

– 12 mini sweet peppers (any color)
– 8 oz cream cheese, softened
– 1/2 cup shredded cheddar cheese
– 1/4 cup sour cream
– 2 cloves garlic, minced
– 1/4 cup fresh chives, finely chopped
– 1/4 cup fresh parsley, finely chopped
– 1 tsp onion powder
– 1/2 tsp smoked paprika
– Salt and pepper to taste
– Olive oil (for drizzling)

**Instructions:**

1. **Preheat the Oven:**
Preheat your oven to 375°F (190°C).

2. **Prepare the Peppers:**
Wash the mini sweet peppers and slice them in half lengthwise. Remove the seeds and membranes carefully, creating a hollow space for the filling.

3. **Make the Filling:**
In a medium mixing bowl, combine the softened cream cheese, shredded cheddar cheese, sour cream, minced garlic, chives, parsley, onion powder, smoked paprika, salt, and pepper. Mix until all ingredients are well incorporated and the mixture is smooth.

4. **Stuff the Peppers:**
Using a spoon or a piping bag, generously fill each mini pepper half with the cream cheese mixture. Make sure to pack the filling in nicely.

5. **Arrange on a Baking Sheet:**
Place the stuffed peppers on a baking sheet lined with parchment paper. Drizzle a little olive oil over the top of the peppers for added flavor and to help them brown nicely.

6. **Bake:**
Bake in the preheated oven for about 15-20 minutes, or until the peppers are tender and the tops are slightly golden.

7. **Serve:**
Remove from the oven and let cool for a few minutes. Arrange on a serving platter and enjoy warm or at room temperature.

**Tips:**
– For a spicy kick, add diced jalapeños or crushed red pepper flakes to the filling.
– You can prepare the stuffed peppers a day in advance and store them in the refrigerator. Just pop them in the oven before serving!

These Savory Stuffed Mini Peppers are sure to be a hit at your next gathering, offering a burst of flavor in every bite! Enjoy!

**Decadent Chocolate Lava Cakes with Raspberry Coulis** Indulge in these…

**Decadent Chocolate Lava Cakes with Raspberry Coulis**

Indulge in these rich and gooey chocolate lava cakes, perfectly paired with a vibrant raspberry coulis. Each bite reveals a molten chocolate center that is sure to impress your guests or satisfy your sweet tooth.

**Ingredients:**

*For the Chocolate Lava Cakes:*
– 1/2 cup (1 stick) unsalted butter
– 1 cup semi-sweet chocolate chips
– 2 large eggs
– 2 large egg yolks
– 1/4 cup granulated sugar
– 2 tablespoons all-purpose flour
– 1/4 teaspoon salt
– 1 teaspoon vanilla extract

*For the Raspberry Coulis:*
– 1 cup fresh or frozen raspberries
– 1/4 cup granulated sugar
– 1 tablespoon lemon juice
– 1/4 cup water

*For Serving:*
– Powdered sugar (for dusting)
– Fresh raspberries and mint leaves (optional, for garnish)

**Instructions:**

**Step 1: Prepare the Lava Cakes**
1. Preheat your oven to 425°F (220°C). Grease four ramekins (6 oz size) with butter or non-stick spray and place them on a baking sheet.
2. In a microwave-safe bowl, combine the butter and semi-sweet chocolate chips. Heat in the microwave in 30-second intervals, stirring in between, until the mixture is completely melted and smooth. Set aside to cool slightly.
3. In a separate mixing bowl, whisk together the eggs, egg yolks, and granulated sugar until the mixture is pale and slightly thickened.
4. Stir in the melted chocolate mixture and mix until well combined.
5. Gently fold in the flour, salt, and vanilla extract until just combined. Be careful not to overmix.
6. Divide the batter evenly among the prepared ramekins.

**Step 2: Bake the Lava Cakes**
1. Bake in the preheated oven for 12-14 minutes, or until the edges are firm but the centers are soft. The tops should be set but still slightly jiggly.
2. Remove from the oven and let the cakes cool for 1 minute before carefully inverting them onto individual plates.

**Step 3: Make the Raspberry Coulis**
1. In a small saucepan, combine the raspberries, granulated sugar, lemon juice, and water.
2. Cook over medium heat, stirring gently until the raspberries break down and the mixture begins to bubble, about 5-7 minutes.
3. Strain the mixture through a fine-mesh sieve to remove the seeds, pressing down with a spatula to extract as much liquid as possible.
4. Transfer the coulis to a bowl and let it cool slightly.

**Step 4: Serve**
1. Dust the warm lava cakes with powdered sugar and drizzle the raspberry coulis around them on the plates.
2. Garnish with fresh raspberries and mint leaves if desired.
3. Serve immediately and enjoy the delightful experience of warm, gooey chocolate!

**Tips:**
– For an extra chocolate kick, you can mix in some chocolate chunks into the batter before baking.
– These lava cakes are best served fresh out of the oven but can be prepared ahead and stored in the refrigerator. Just increase the baking time by a couple of minutes if baking from cold.

Treat yourself and your loved ones to this delightful dessert that combines rich chocolate and tart raspberry for an unforgettable experience!

**Savory Stuffed Mini Peppers with Cream Cheese and Herbs** These…

Appetizers
**Savory Stuffed Mini Peppers with Cream Cheese and Herbs**

These delightful stuffed mini peppers are the perfect appetizers for any gathering! Colorful, creamy, and bursting with flavor, they are sure to impress your guests and keep them coming back for more.

**Ingredients:**

– 12 mini sweet peppers (any color)
– 8 oz (1 cup) cream cheese, softened
– 1/2 cup shredded cheddar cheese
– 1/4 cup fresh parsley, finely chopped
– 2 tablespoons fresh chives, finely chopped
– 1 tablespoon fresh dill, finely chopped
– 1 teaspoon garlic powder
– 1/2 teaspoon onion powder
– 1/4 teaspoon black pepper
– 1/4 teaspoon salt
– Optional: 1/4 teaspoon red pepper flakes for a spicy kick
– Olive oil (for drizzling)

**Instructions:**

1. **Preheat the Oven:**
Preheat your oven to 375°F (190°C).

2. **Prepare the Peppers:**
Wash the mini sweet peppers thoroughly. Cut each pepper in half lengthwise and remove the seeds and membranes. Place them cut-side up on a baking sheet lined with parchment paper.

3. **Make the Filling:**
In a medium-sized mixing bowl, combine the softened cream cheese, shredded cheddar cheese, parsley, chives, dill, garlic powder, onion powder, black pepper, salt, and red pepper flakes (if using). Mix well until all ingredients are fully incorporated and creamy.

4. **Stuff the Peppers:**
Using a small spoon or a piping bag, fill each mini pepper half with the cream cheese mixture. Don’t be shy – you can mound the filling a little above the edges of the peppers for a generous portion!

5. **Drizzle with Olive Oil:**
Lightly drizzle olive oil over the stuffed peppers to enhance flavor and help them crisp up during baking.

6. **Bake:**
Place the baking sheet in the preheated oven and bake for 15-20 minutes, or until the peppers are tender and the filling is slightly golden.

7. **Serve:**
Remove the stuffed peppers from the oven and let them cool for a few minutes. Arrange them on a serving platter and garnish with extra herbs if desired.

8. **Enjoy:**
Serve warm or at room temperature as a delicious appetizer for your next party or family gathering!

**Tip:** These stuffed mini peppers can also be made ahead of time. Prepare and fill them, then cover with plastic wrap and refrigerate until you’re ready to bake them. Just add a few extra minutes to the baking time if they are coming straight from the fridge.

Enjoy your flavorful and colorful appetizers that are sure to be a hit!

**Decadent Chocolate Lava Cake with Raspberry Coulis** Indulge in the…

Desserts
**Decadent Chocolate Lava Cake with Raspberry Coulis**

Indulge in the rich, molten center of this chocolate lava cake paired with a vibrant raspberry coulis. Perfect for impressing guests or treating yourself, this dessert combines the elegance of fine dining with straightforward preparation.

**Ingredients:**

*For the Chocolate Lava Cakes:*
– 1/2 cup (1 stick) unsalted butter
– 1 cup semi-sweet chocolate chips
– 2 large eggs
– 2 large egg yolks
– 1/4 cup granulated sugar
– 2 tablespoons all-purpose flour
– 1 teaspoon vanilla extract
– Pinch of salt
– Butter and cocoa powder for greasing ramekins

*For the Raspberry Coulis:*
– 2 cups fresh or frozen raspberries
– 1/4 cup granulated sugar (adjust based on sweetness of raspberries)
– 1 tablespoon lemon juice
– 1 tablespoon water (if needed)

**Instructions:**

1. **Prepare the Ramekins:**
Preheat your oven to 425°F (220°C). Grease four 6-ounce ramekins with butter and dust them with cocoa powder to prevent sticking. Place the ramekins on a baking tray for easy handling.

2. **Make the Chocolate Mixture:**
In a microwave-safe bowl, combine the butter and chocolate chips. Heat in the microwave in 30-second intervals, stirring after each, until melted and smooth. Allow it to cool slightly.

3. **Mix the Eggs:**
In a medium bowl, whisk together the eggs, egg yolks, and granulated sugar until pale and thick. Add the melted chocolate mixture, vanilla extract, and a pinch of salt. Stir until well combined.

4. **Add the Flour:**
Gently fold in the flour until just incorporated. Be careful not to overmix. The batter should be smooth and glossy.

5. **Fill the Ramekins:**
Evenly distribute the batter among the prepared ramekins, filling each about 3/4 full.

6. **Bake the Cakes:**
Bake in the preheated oven for 12-14 minutes. The edges should be firm, but the center will still be slightly jiggly. Do not overbake, as you want that molten center!

7. **Prepare the Raspberry Coulis:**
While the cakes are baking, prepare the coulis. In a small saucepan over medium heat, combine the raspberries, granulated sugar, and lemon juice. Cook until the raspberries break down and the mixture starts to thicken, about 5-7 minutes. If the mixture is too thick, add a tablespoon of water to reach your desired consistency.

8. **Strain the Coulis:**
Remove from heat and strain the raspberry mixture through a fine-mesh sieve to remove the seeds. Set aside to cool.

9. **Serve the Lava Cakes:**
Once the cakes are done, remove them from the oven and let them sit for 1 minute. Carefully run a knife around the edges and invert each ramekin onto a plate. Gently lift the ramekin off to reveal the cake.

10. **Plate with Raspberry Coulis:**
Drizzle the raspberry coulis around the cake and, if desired, garnish with fresh raspberries or a dusting of powdered sugar.

11. **Enjoy!**
Serve immediately while the center is still warm and gooey. Dig in and experience the delightful contrast of rich chocolate and tangy raspberry!

This dessert is sure to impress with its stunning presentation and unforgettable taste—perfect for any occasion!